Using a mockup may look technical, but it’s actually simple once you know the steps. Here’s how to turn your design into a realistic visual presentation using free PSD mockups from MockupShelf.
1. Download a Mockup
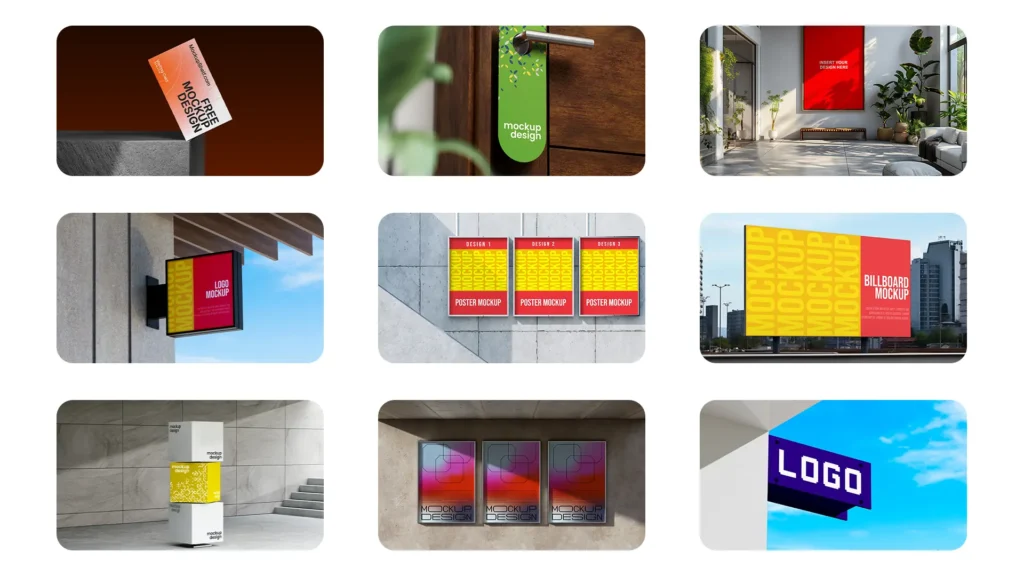
Start by visiting the Home Page and choosing a mockup that fits your project such as a business card, packaging box, or digital device mockup.
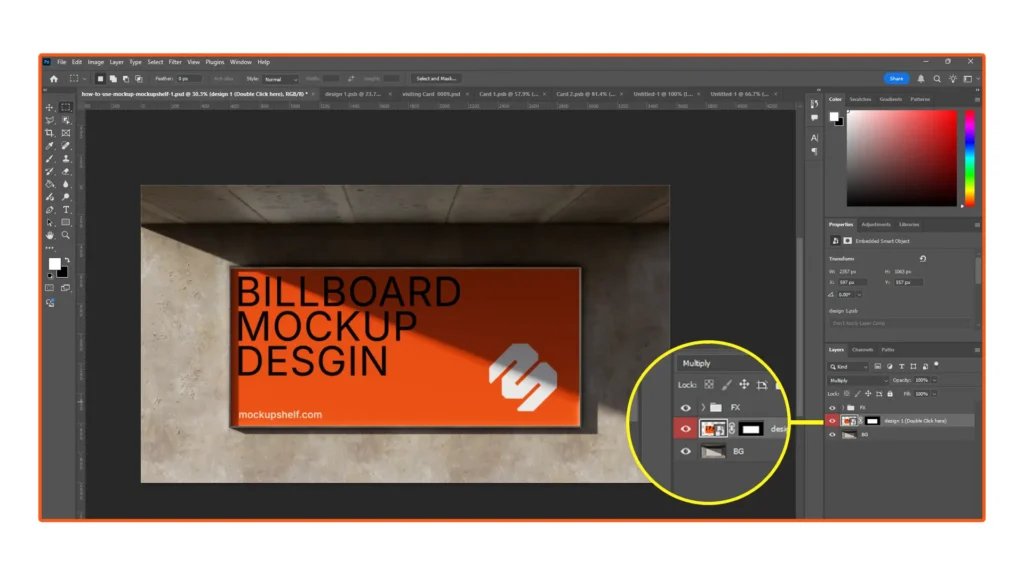
2. Open the File in Photoshop
Mockups are provided as PSD files. Open your chosen file in Adobe Photoshop or Photopea (a free browser-based editor). Locate the Smart Object layer, it’s usually labeled “Your Design Here” or “Replace Artwork.”
3. Insert Your Design
Double-click the Smart Object layer to open it. Paste or drag your design inside, adjust the layout, and save (Ctrl + S or Cmd + S). Once saved, return to the main PSD your design now appears automatically in the mockup scene.
4. Customize the Scene
You can tweak:
Shadows and lighting
Background textures or colors
Effects such as reflections or highlights
This helps align the mockup with your brand’s tone or presentation needs.
5. Export the Final Image
When you’re satisfied, export your mockup as a JPG or PNG. You can now use it for: